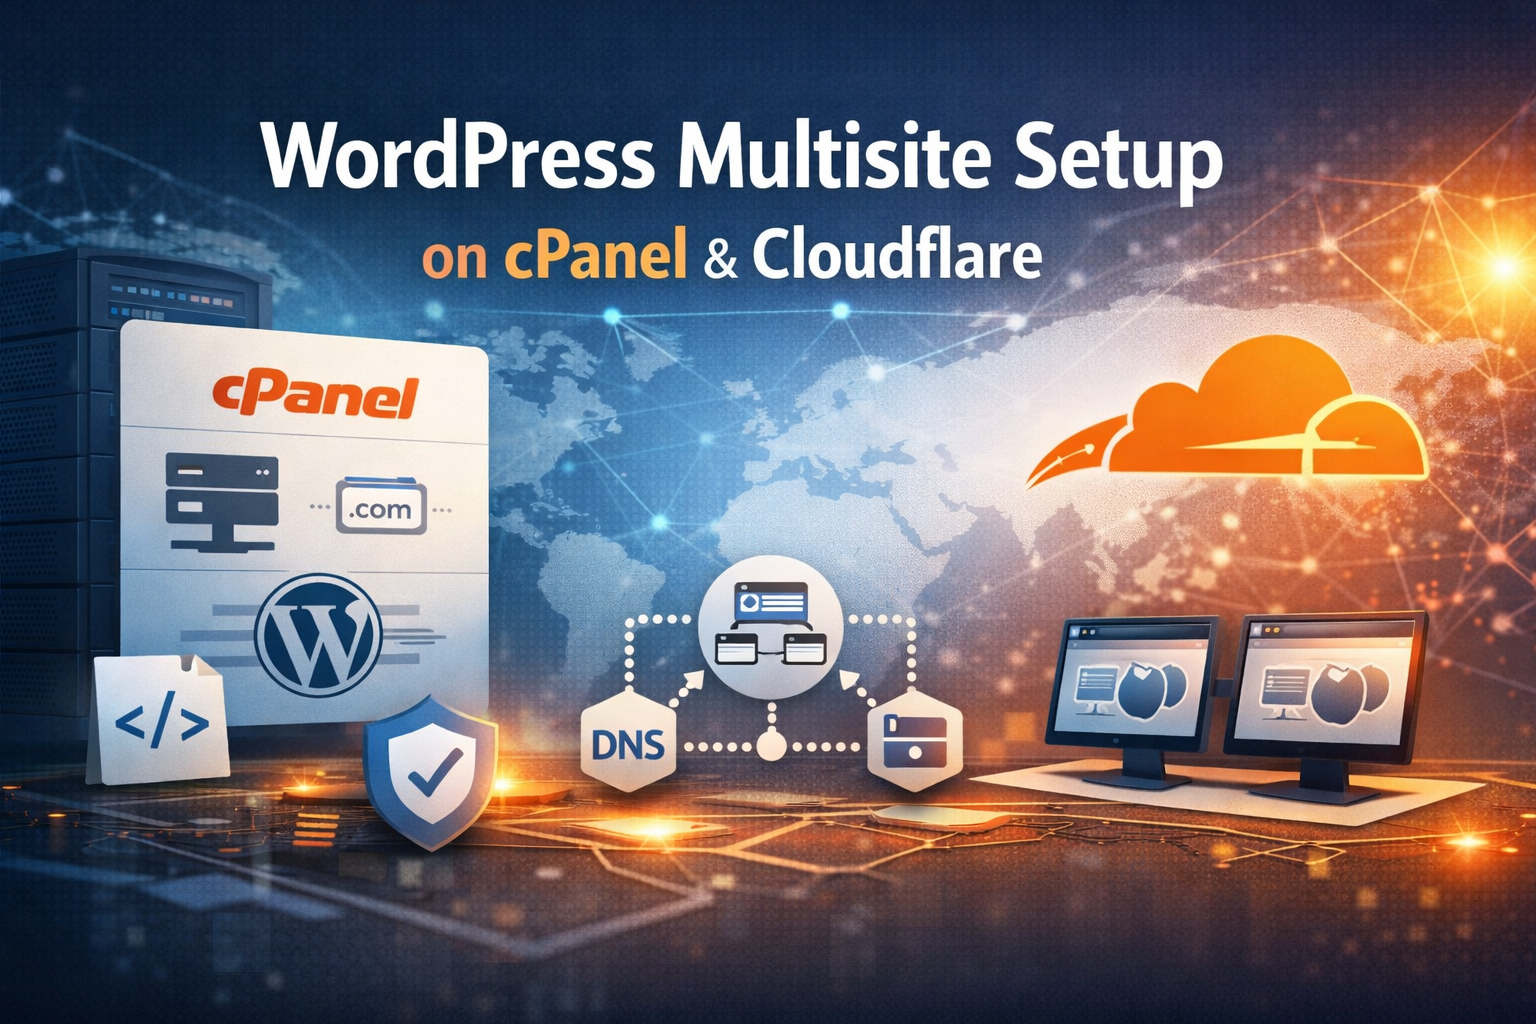
A WordPress multisite setup on cPanel and Cloudflare can be harder than it should be. Many guides are outdated, incomplete, or miss important steps. Because of that, we put together this guide to show a clear and reliable way to build a multisite network from scratch.
For this tutorial, we’ll assume you already have a cPanel hosting account ready to use. In addition, we’ll assume the account is empty, or at least that you are starting with a fresh WordPress installation for this WordPress network.
Configure Cloudflare DNS for a WordPress Multisite
First, make sure your Cloudflare DNS records are set correctly. Your DNS should match the screenshot below, but you will need to replace the example IP address with the one provided by your hosting provider.
This step matters because the domain must point to the correct hosting account before the multisite network can function properly.

Create Your Domain for the Multisite Network
Next, log in to cPanel and go to Domains → Create A New Domain
Then fill out the form as shown in the screenshot, replacing wordpresstest.xyz with your own domain name.
Once that is done, the domain will be ready for the network setup.

Install WordPress Before Network Setup
After that, go to cPanel → Software → WordPress Manager by Softaculous → Install

At this stage, you usually do not need to change much unless you want to customise the admin username, admin password, or other installation settings. When you are happy with the options shown, scroll down and click Install

This gives you the clean WordPress base needed before turning it into a WordPress multisite.
Enable WordPress Multisite in wp-config.php
Once the installation finishes, log in to the WordPress admin area using the Administrative URL provided by Softaculous.

Then go back to cPanel and open File Manager → public_html → wp-config.php
Click Edit

Find the following line:
/* That's all, stop editing! Happy publishing. */
define('WP_ALLOW_MULTISITE', true);
Afterwards, click Save Changes

This enables the built-in WordPress network feature and allows you to continue with the next stage.
Complete the WordPress Network Setup
Next, return to the WordPress admin area and go to Tools → Network Setup
You do not normally need to change anything here, although you can update the Network Title and Network Admin Email if you wish.
Then click Install.

WordPress will now generate code that must be added to both your wp-config.php file and your .htaccess file. Make sure you copy and paste the code exactly as shown.

If you cannot see .htaccess in cPanel File Manager, click Settings and enable Show Hidden Files (dotfiles) first.

At this point, the main network setup is almost complete.
Create a New Site in Your Multisite Network
Once the multisite network is active, go to the WordPress admin area and click Create a New Site

Then complete the following fields:
- Site Address (URL)
- Site Title
- Admin Email
After that, click Add Site

This will add a new multisite site to your WordPress network.
Final Checks for Your WordPress Network
Finally, you should see the message: Site added. Visit Dashboard or Edit Site
If everything has been configured correctly, your new site should now load properly.
As a result, you will have a working WordPress multisite setup running on cPanel with Cloudflare.
When to Upgrade from VPS to Dedicated Server?

VPS vs Dedicated Server: 10 Key Differences

openSUSE Leap 16 & openSUSE Tumbleweed Now Available!
