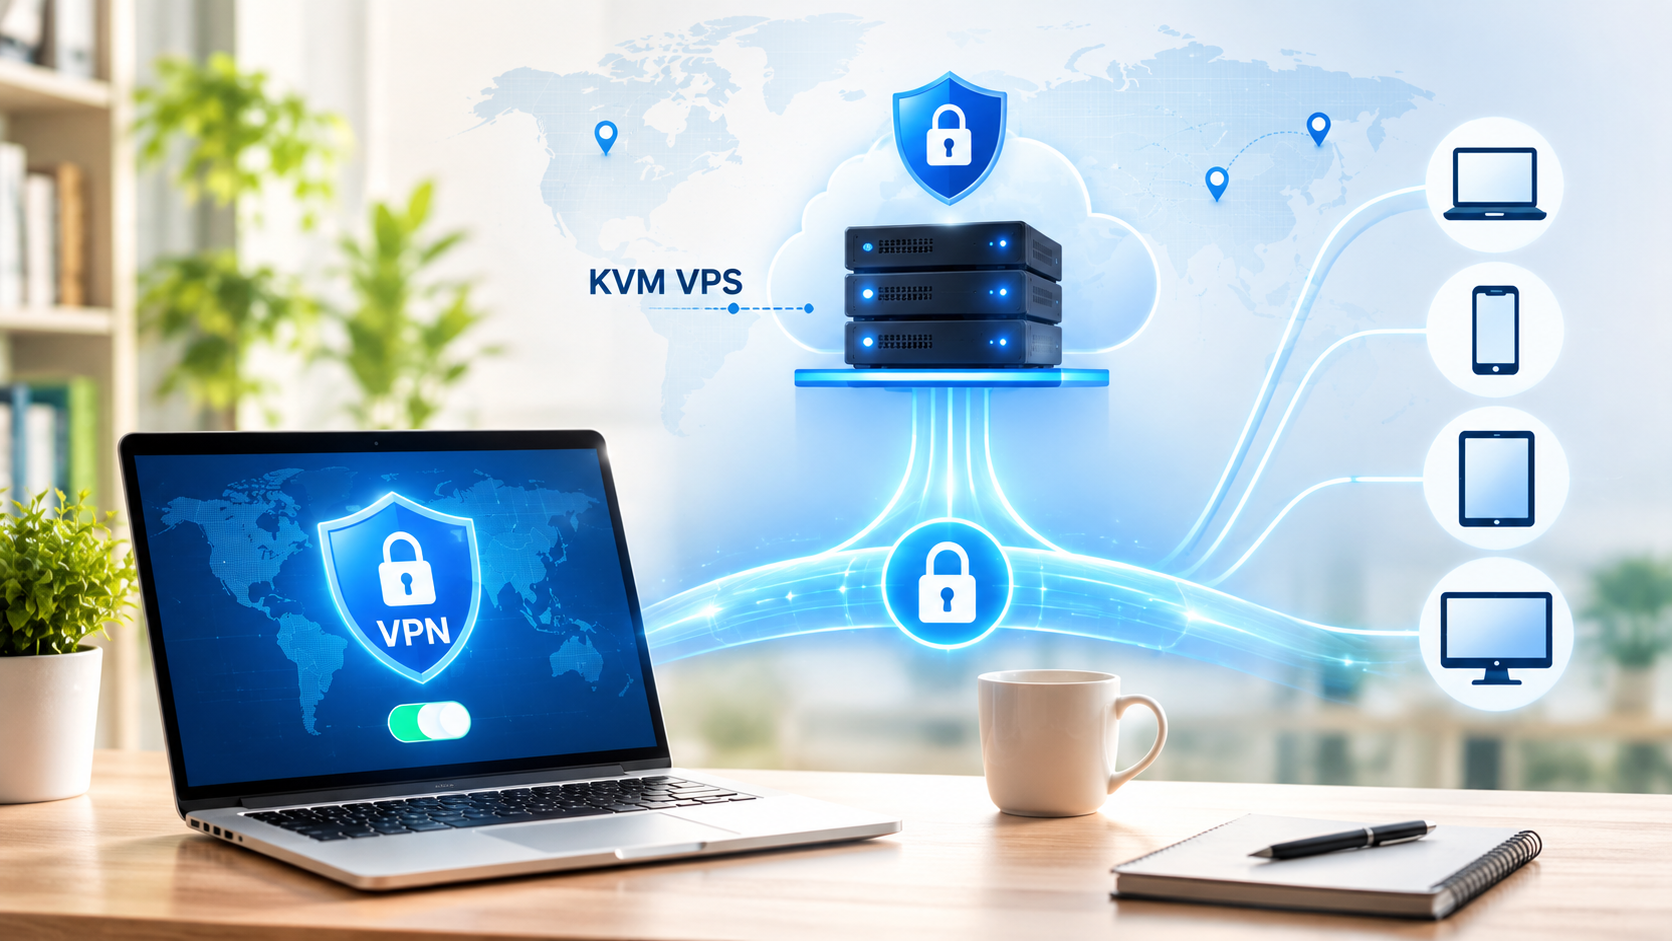
If you’ve ever connected to public Wi-Fi at a coffee shop and felt a little uneasy about it, you’re not alone. Millions of people now run their own private VPN instead of trusting a random provider with their traffic. The easiest way to do that is by setting one up on your own server.
That’s exactly what this guide walks you through: building a private VPN on a KVM VPS step by step. It explains everything in plain language, without any confusing jargon that usually comes with these tutorials.
Before we get into the how, let’s talk about why this approach makes sense in 2026. Roughly 1.6 billion people now use a VPN globally, which is close to 30% of everyone online. That number keeps climbing every year.
But here’s the part most people don’t think about. When you use a third-party VPN app, you’re trusting a company you don’t know with every website you visit. When you build your own VPN on a KVM VPS server, you control the server, you control the logs, and you control who has access. That’s a completely different level of privacy.
Why KVM VPS Hosting Is the Right Foundation for a Private VPN
Understanding KVM Virtualization
Not every VPS is built the same way, and this matters more than people realize when you’re setting up a VPN.
KVM stands for Kernel-based Virtual Machine. It’s a type of virtualization where your server gets its own dedicated slice of resources. This includes its own kernel, operating system, CPU, and RAM allocation.
These resources aren’t shared unpredictably with other users on the same physical machine.
Compare that to OpenVZ or container-based hosting, where multiple users can sometimes end up fighting over the same resource pool. This is why KVM VPS hosting is the go-to choice for anyone running something as sensitive as a VPN.
Benefits of Full Root Access
With KVM VPS hosting, you get full root access. This means you can install any VPN software you want, tweak firewall rules, and configure the server exactly how you need it.
You’re not limited to whatever the hosting company decided to preinstall.
This is why so many privacy-focused users and small businesses specifically search for VPS KVM Linux setups when they want to run their own VPN. They avoid shared hosting plans that don’t provide this level of control.
Security Considerations for VPN Servers
There’s also a security angle worth mentioning here. Enterprise security researchers have flagged real risks tied to edge devices and VPN endpoints recently.
Verizon’s 2025 Data Breach Investigations Report found that vulnerability exploitation aimed at edge devices and VPN concentrators jumped from 3% to 22% of breach-related exploitation. This was roughly an eightfold increase year over year.
That’s not a reason to avoid running your own VPN. However, it is a strong reason to run it on a properly maintained, dedicated KVM VPS server rather than a cheap, poorly secured box that never gets patched.
What You’ll Need Before You Start
Setting up a VPN on your own server doesn’t require you to be a network engineer. However, you do need a few things in place first.
You’ll need a VPS running on KVM virtualization. Ideally, it should have at least 1GB of RAM and a single core.
VPN software like WireGuard or OpenVPN doesn’t need much horsepower to run smoothly for personal or small team use.
You’ll also want a fresh install of a Linux distribution such as Ubuntu or Debian. Most VPN setup scripts are written and tested against these systems.
Beyond that, you just need SSH access to your server and about twenty to thirty minutes of your time.
If you’ve never used SSH before, don’t worry. It’s simply a way to connect to your server through a terminal window so you can type commands directly into it.
Most hosting providers give you the login details the moment your VPS KVM Linux instance is created.
Step-by-Step: Setting Up Your VPN on a KVM VPS Server
Step 1: Log Into Your Server
Once your KVM VPS server is up and running, open a terminal on your computer and connect using SSH with the IP address and root password provided by your host.
If everything is set up correctly, you’ll land on a command line prompt for your fresh Linux server.
Step 2: Update the System
Before installing anything, run a quick update so your server has the latest security patches and package lists.
On Ubuntu or Debian, this is done with apt update && apt upgrade -y.
This single step matters more than people realize. An outdated server is exactly the kind of target that attackers scan for.
Step 3: Install WireGuard
WireGuard has become the preferred VPN protocol for most people building their own VPN in 2026.
It’s fast, lightweight, and much simpler to configure than older protocols like OpenVPN.
You can install it with a single command on most distributions.
Several community scripts, such as the popular WireGuard installer by Nyr, will automatically generate your server configuration and client keys for you.
They also walk you through a handful of prompts, making the setup process easier.
Step 4: Configure Your Firewall
Once WireGuard is installed, you’ll need to open the correct UDP port, usually 51820.
Make sure your firewall allows traffic through it while blocking everything else you don’t need exposed.
Tools like UFW make this straightforward on a Linux server.
It’s worth double-checking that only the ports you actually need are open. An over-exposed KVM VPS is an unnecessary risk.
Step 5: Generate Client Configurations
Every device you want to connect through your VPN needs its own client configuration file or QR code.
This includes your phone, your laptop, or a family member’s tablet.
The WireGuard setup script handles this automatically.
It generates a unique key pair for each device, so you can track and revoke access individually if a device is ever lost or compromised.
Step 6: Test the Connection
Install the WireGuard app on your device, import the configuration file you generated, and turn it on.
A quick way to confirm it’s working is to check your IP address before and after connecting.
If the IP shown matches your KVM VPS server’s address instead of your home network, your private VPN is live and routing your traffic correctly.
Choosing the Right KVM VPS Hosting Provider
The setup steps above only work as well as the server they’re running on.
This is where picking a solid KVM VPS hosting provider actually matters.
A slow, oversold, or poorly connected server will undo all the effort you put into configuring your VPN properly.
Look for Reliable Server Resources
Look for a provider that offers guaranteed resources rather than “burstable” allocations.
A VPN needs consistent CPU availability to keep encryption running smoothly without lag.
Focus on Network Performance
Network quality matters just as much as the server itself.
This is where Ethernet Servers stands out, since KVM VPS hosting plans there are built on dedicated network infrastructure rather than shared, congested pipes.
When you’re running a private VPN, your connection speed is only ever as good as the weakest link in the chain.
A host running on solid ethernet servers with strong uptime and low latency routing gives your VPN a real speed advantage over budget hosts that cut corners on bandwidth.
Check Important Hosting Features
It’s also worth checking that your provider gives you full root access, IPv4 and IPv6 support, and a data center location close to where you or your team will be connecting from.
Physical distance directly affects the latency you’ll feel every time you browse or stream through your VPN.
Common Mistakes People Make When Setting Up a Private VPN
A lot of people rush through this process and end up with a VPN that technically works but isn’t actually private.
One common mistake is forgetting to disable password-based SSH login after setup.
This leaves the server open to brute-force attempts.
Another mistake is skipping firewall configuration entirely.
This leaves unnecessary ports open on the server for anyone scanning the internet to find.
Understanding VPN Limitations
People also sometimes forget that a VPN only protects the traffic between your device and the server.
It does not protect what happens after that.
If you’re logging into accounts without two-factor authentication or running outdated software on your VPS KVM Linux instance, the VPN alone isn’t going to fix those gaps.
Treat your VPN as one layer of a bigger security setup.
It should not be considered a magic shield that handles everything on its own.
Wrapping It Up
Building a private VPN on your own KVM VPS server isn’t as complicated as it sounds once you break it down into steps.
The payoff is real: a VPN you fully control, with no third party logging your activity or deciding what you can and can’t access.
As VPN usage keeps growing worldwide, more people are realizing that self-hosting on reliable KVM VPS hosting gives them privacy on their own terms.
It is backed by their own infrastructure rather than someone else’s promises.
If you’re ready to get started, the most important decision you’ll make isn’t which VPN protocol to install.
It’s which host your KVM VPS server runs on.
A provider with strong ethernet servers, honest resource allocation, and full root access will save you a lot of headaches down the line.
Frequently Asked Questions
Yes, and it’s not close. A KVM VPS server gives you a dedicated kernel, dedicated resources, and full root access, all of which a VPN setup needs to run reliably. Shared hosting typically restricts the level of control required to install and configure VPN software properly.
For personal or small team use, 1GB of RAM and a single CPU core is usually enough to run WireGuard or OpenVPN smoothly. If you’re planning to support a larger number of simultaneous users, moving up to 2GB or more gives you extra breathing room.
Most VPN setup scripts are written for Ubuntu and Debian, so these are the safest choices if you want a smooth installation. Other Linux distributions can work too, but you may need to adjust commands manually depending on the package manager they use.
Not really. Following a step-by-step guide and using a community install script for WireGuard removes most of the technical complexity. Basic comfort with typing commands into a terminal is really all you need.
Your VPN’s speed depends heavily on the quality of the network your KVM VPS server sits on. A host running on strong, dedicated ethernet servers with low latency and solid uptime will give you a noticeably faster and more stable VPN connection than a budget host with congested or oversold network paths.