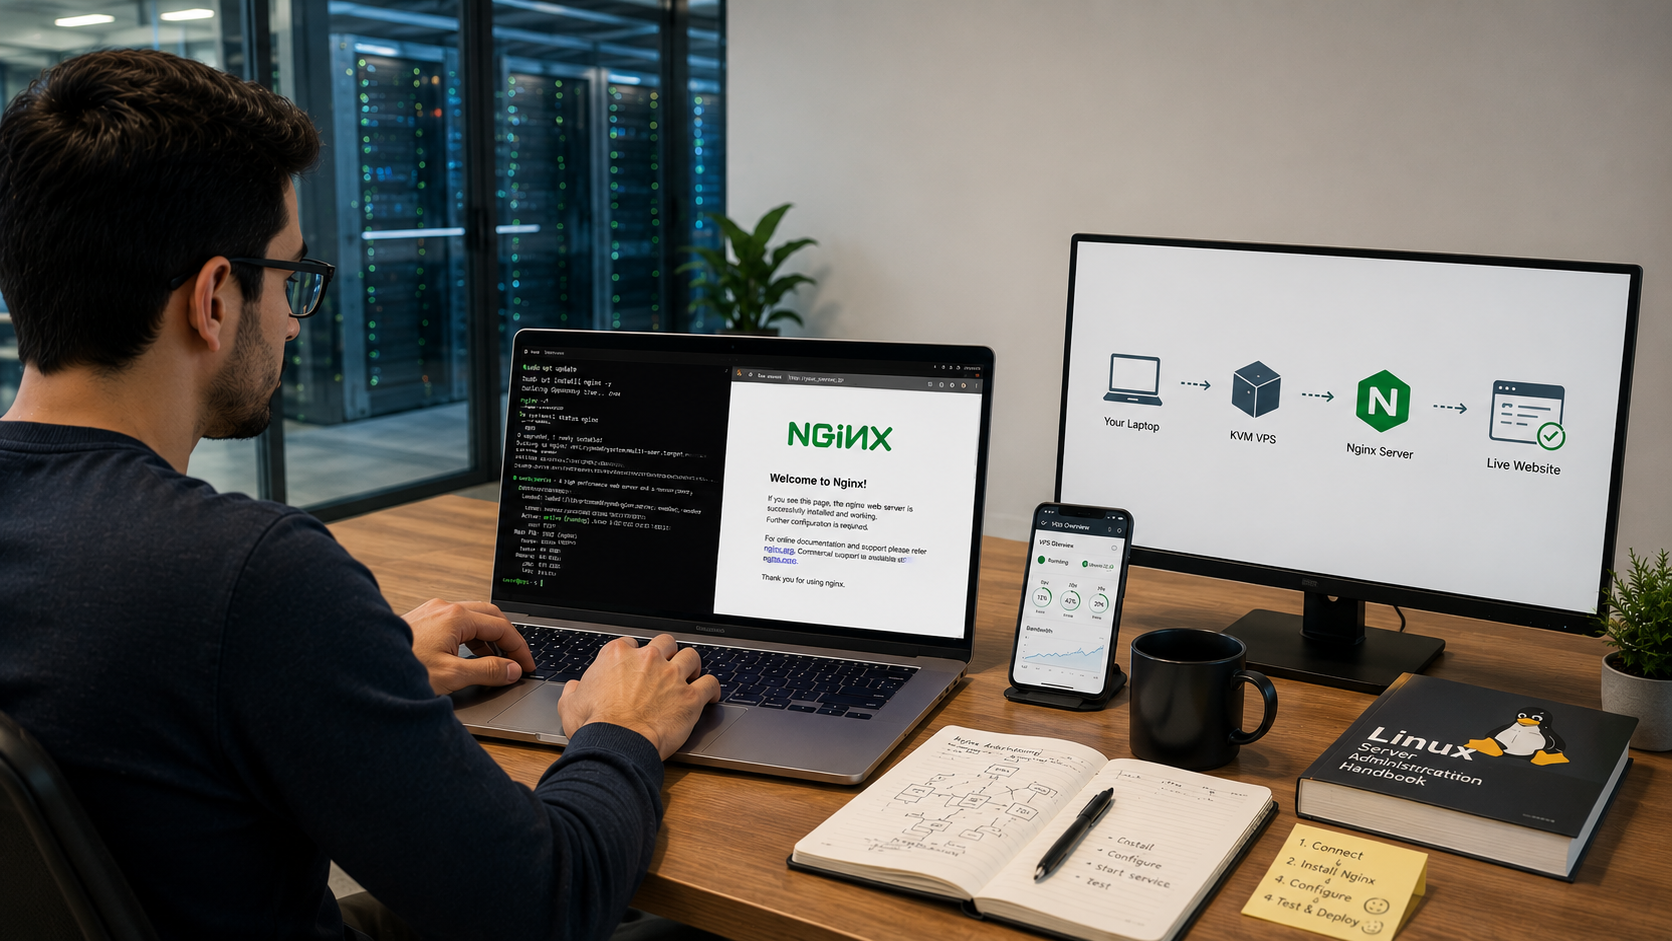
If you just bought a KVM VPS and you are staring at a blank terminal window wondering what to do next, you are not alone. Almost everyone who moves from shared hosting to a VPS hits the same wall: they know they need a web server, but nobody really explains how to get one running without breaking something. This Nginx setup guide is written for exactly that moment. We will walk through installing Nginx on your KVM VPS, understanding the default Nginx config, learning how to check Nginx configuration before it goes live, and even touch on Nginx Proxy Manager for people who want a friendlier way to manage things. By the end, you should be able to get a working, secure Nginx server running without needing to call support.
What is Nginx and Why it Matters for Your KVM VPS
Nginx (pronounced “engine-x”) is a web server that also works as a reverse proxy, load balancer, and mail proxy. It was built back in 2004 by a Russian engineer named Igor Sysoev, and the goal was simple: handle thousands of visitors at once without eating up all your server’s memory. That goal paid off. As of 2026, Nginx powers roughly a third of all websites with a known web server, making it the most widely used web server software in the world, ahead of Apache and every other option out there. If you run a KVM VPS, chances are Nginx will give you better performance per dollar than most alternatives, especially if your server has limited RAM.
The reason Nginx pairs so well with a KVM VPS specifically comes down to how KVM works. KVM (Kernel-based Virtual Machine) gives you a fully isolated virtual server with dedicated resources, unlike some cheaper virtualization types that share resources more aggressively. Since Nginx is built to be light on memory and CPU, it lets you squeeze more performance out of that dedicated slice of resources instead of wasting it on a heavier web server. That combination is exactly why so many hosting providers, including most KVM VPS plans, recommend Nginx as the default choice for new users.
Before You Start: What You Need for This Nginx Setup Guide
Before jumping into commands, make sure a few things are in place. You will need root or sudo access to your KVM VPS, which almost every provider gives you by default. You should also know which Linux distribution your server is running, since the install commands differ slightly between Ubuntu, Debian, CentOS, and AlmaLinux. Most beginners on a KVM VPS end up using Ubuntu because it has the largest community and the easiest documentation to follow, so this guide will lean on Ubuntu commands, but we will mention alternatives where it matters.
You will also want an SSH client. If you are on Mac or Linux, the built-in terminal works fine. If you are connecting from Windows, tools like PuTTY or the newer Windows Terminal with OpenSSH built in will do the job. And if your workflow involves managing a VPS KVM Windows setup, meaning a Windows-based control environment connecting to a Linux KVM VPS, the same SSH principles apply; you are just launching the connection from a Windows machine instead of Mac or Linux.
Step-by-Step Nginx Setup Guide on a KVM VPS
Once you are logged into your server, the first thing to do is update your package list so you are not installing outdated software. Run sudo apt update && sudo apt upgrade -y on Ubuntu or Debian systems. This single step avoids a huge number of headaches later, since installing Nginx on an outdated system can lead to dependency conflicts.
Next, install Nginx itself with sudo apt install nginx -y. On CentOS or AlmaLinux, the command is sudo yum install nginx -y or sudo dnf install nginx -y depending on your version. This process usually takes less than a minute on a decent KVM VPS.
After installation, you need to start the service and make sure it launches automatically every time your server reboots. Two commands handle this: sudo systemctl start nginx and sudo systemctl enable nginx. If everything worked, typing your server’s IP address into a browser should show you the default Nginx welcome page, which confirms the web server is alive and listening.
The last piece of a basic setup is your firewall. Most KVM VPS providers ship with a firewall like UFW active by default. You will want to allow HTTP and HTTPS traffic through with sudo ufw allow ‘Nginx Full’, otherwise visitors will not be able to reach your site even though Nginx is running perfectly fine internally.
Understanding the Default Nginx Config File
Every fresh Nginx install comes with a default Nginx config that controls how the server behaves out of the box. On most Linux distributions, this file lives at /etc/nginx/nginx.conf, and it acts as the main rulebook for the whole server. Inside it, you will find settings for worker processes, connection limits, logging locations, and it includes references to other configuration files stored in /etc/nginx/sites-available/ and /etc/nginx/sites-enabled/.
The default nginx config is intentionally generic, since it needs to work for almost anyone right out of the box. For a real website, you will usually create a new configuration file inside sites-available, point it to your domain and the folder holding your website files, then create a symbolic link into sites-enabled so Nginx actually loads it. This separation exists so you can manage multiple websites on a single KVM VPS without them interfering with each other, which is one of the more underrated advantages of using Nginx over simpler web servers.
It is worth spending ten minutes actually reading through the default nginx config the first time you install Nginx, even if you do not understand every line. Just seeing the structure, how server blocks are written and how locations are matched, makes every future edit far less intimidating.
How to Check Nginx Configuration Before Going Live
This is the step most beginners skip, and it is the one that causes the most downtime. Before restarting or reloading Nginx after any change, you should always check nginx configuration for syntax errors first. The command for this is simple: sudo nginx -t. If everything is correct, you will see a message confirming the syntax is okay and the test was successful. If there is a mistake, Nginx will tell you exactly which line and file caused the problem, which saves you from guessing.
Making this a habit matters more than it sounds like it should. A single missing semicolon or an extra curly brace in a config file can take your entire website offline if you reload without testing first. Running the check nginx configuration command takes about two seconds and it should become second nature every single time you touch a config file, no exceptions, even for experienced administrators.
Once the test passes, you can safely apply your changes with sudo systemctl reload nginx, which applies the new configuration without dropping active connections. This is different from a full restart, and it is the safer option for production servers running on a KVM VPS with real visitors.
Nginx Proxy Manager Setup Guide for Beginners
If editing configuration files by hand sounds intimidating, Nginx Proxy Manager is worth knowing about. It is a web-based interface that sits on top of Nginx and lets you manage reverse proxies, SSL certificates, and redirects through a browser instead of a terminal. It has become especially popular among people running multiple apps or containers on a single KVM VPS, since it removes most of the manual configuration work.
This Nginx Proxy Manager setup guide section assumes you already have Docker installed on your KVM VPS, since Nginx Proxy Manager is typically deployed as a Docker container. You create a docker-compose file that defines the Nginx Proxy Manager service, map the necessary ports (usually 80, 443, and 81 for the admin panel), and then run docker compose up -d to launch it. Once it is running, you access the admin panel through your browser on port 81, log in with the default credentials, and immediately change the password, since the default login is publicly known and a common target for automated attacks.
From there, adding a new proxy host is mostly point and click. You enter the domain name, the internal IP and port of the application you want to expose, and Nginx Proxy Manager handles the underlying Nginx configuration for you, including requesting a free SSL certificate from Let’s Encrypt if you want HTTPS enabled. For beginners managing several small projects on one KVM VPS, this tool often saves hours compared to writing and checking nginx configuration files manually every time.
Running Nginx on a VPS KVM Windows Environment
A common point of confusion is the phrase VPS KVM Windows, since KVM is technically a Linux virtualization technology, but the guest operating system inside that virtual machine can still be Windows. If your KVM VPS is running Windows Server rather than Linux, installing native Nginx works a bit differently. You would download the Windows build directly from the official Nginx website, extract it to a folder such as C:\nginx, and start it by running nginx.exe from the command prompt inside that folder.
That said, most performance-focused hosting setups still recommend running Nginx on a Linux-based KVM VPS rather than Windows, simply because Nginx was built with Unix-style systems in mind and the Windows build is officially considered less stable for high-traffic production use. If your project allows for it, a Linux KVM VPS will almost always give you a smoother Nginx experience with fewer surprises.
Common Mistakes to Avoid
A lot of beginners run into trouble not because Nginx is complicated, but because of small oversights. Forgetting to open firewall ports is probably the most common one, followed closely by skipping the check nginx configuration step before reloading. Another frequent issue is editing the default Nginx config directly instead of creating separate site-specific files, which makes future updates messy and increases the risk of accidentally breaking every website on the server at once. Taking a few extra minutes to follow proper structure early on will save you far more time later.
Frequently Asked Questions
Installing Nginx just gets the software onto your KVM VPS and running with default settings. A full Nginx setup guide, like this one, also covers configuring server blocks for your domain, setting up firewalls, checking Nginx configuration for errors, and optionally adding tools like Nginx Proxy Manager, all of which are needed before a site is truly production-ready.
On most Linux distributions, including Ubuntu and Debian, the default nginx config lives at /etc/nginx/nginx.conf. Individual site configurations are usually stored separately in /etc/nginx/sites-available/ and linked into /etc/nginx/sites-enabled/.
Run sudo nginx -t in your terminal. This tests your configuration files for syntax errors without actually reloading or restarting the service, so you can catch mistakes safely before they affect live traffic.
Yes, especially if you are running several apps or containers and do not want to manually edit configuration files or manage SSL certificates by hand. Nginx Proxy Manager adds a small amount of resource overhead, but on most modern KVM VPS plans with at least 1GB of RAM, that overhead is barely noticeable.
Technically yes, Nginx does have an official Windows build, but it is not the recommended path for production websites. Nginx performs best and is most stable on Linux-based KVM VPS environments, so unless you have a specific reason to stick with Windows, Linux is the safer choice.